The short answer: The best load is a compatible group of items, not simply a full drum. Sort by care instruction, soil, color transfer risk, and fabric behavior before selecting the cycle.
Before you start
Check the situation in front of you
Useful home guidance begins with the exact space, model, label, and routine you have. Make these checks before turning a general idea into a household habit.
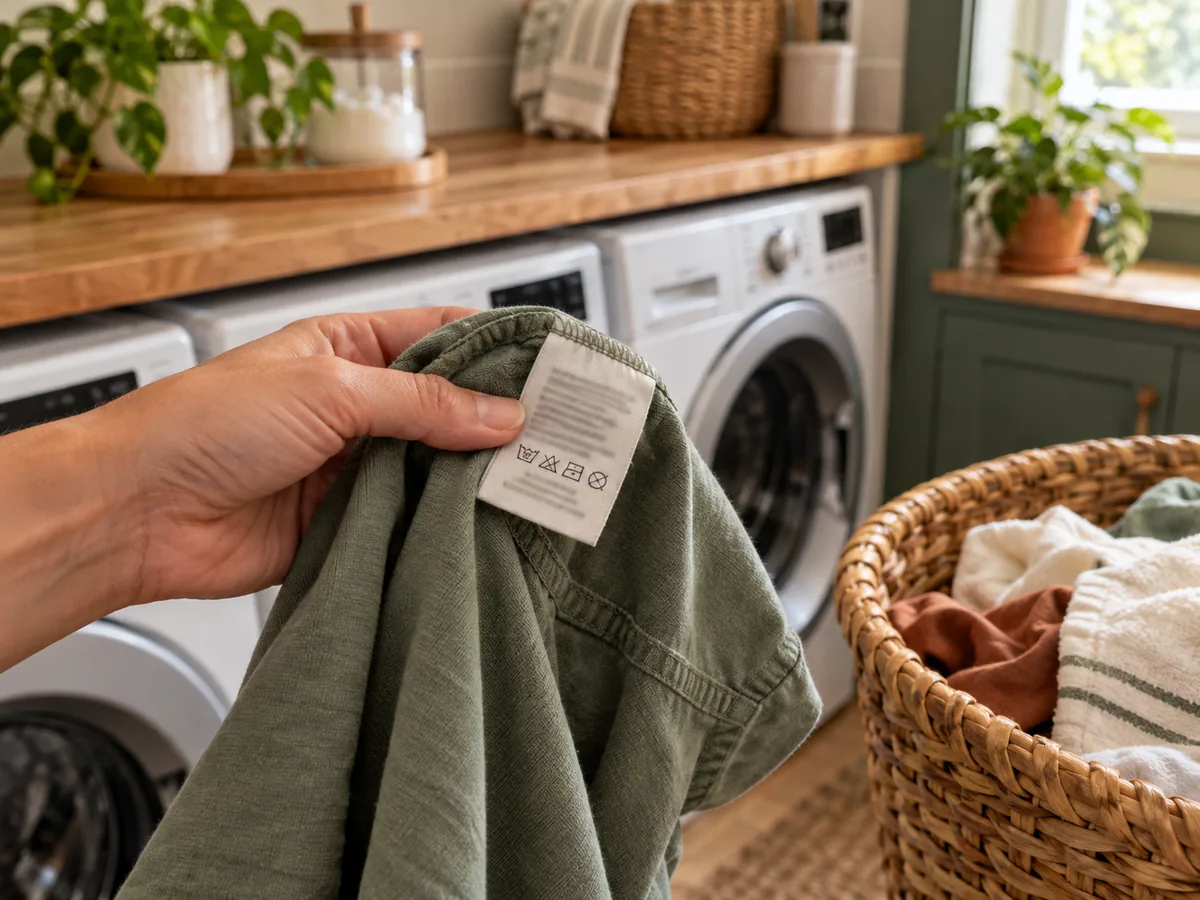
- Read garment labels and the washer manual.
- Empty pockets and close or protect hardware as instructed.
- Treat stains according to the textile and product directions.
Try this at home
A practical route, one step at a time
Move through the sequence in order. Keep notes on what you observe, and change only one variable at a time when you want to understand the result.
- 1
Build compatible groups
Separate items that require different temperatures, gentleness, or drying methods. Heavy towels and light garments may share a color but move, absorb, and dry differently.
- 2
Prepare the pieces
Fasten or open closures as the garment maker recommends, turn printed items if directed, and place small pieces in an appropriate wash bag. Remove objects that can damage the machine.
- 3
Load for the machine type
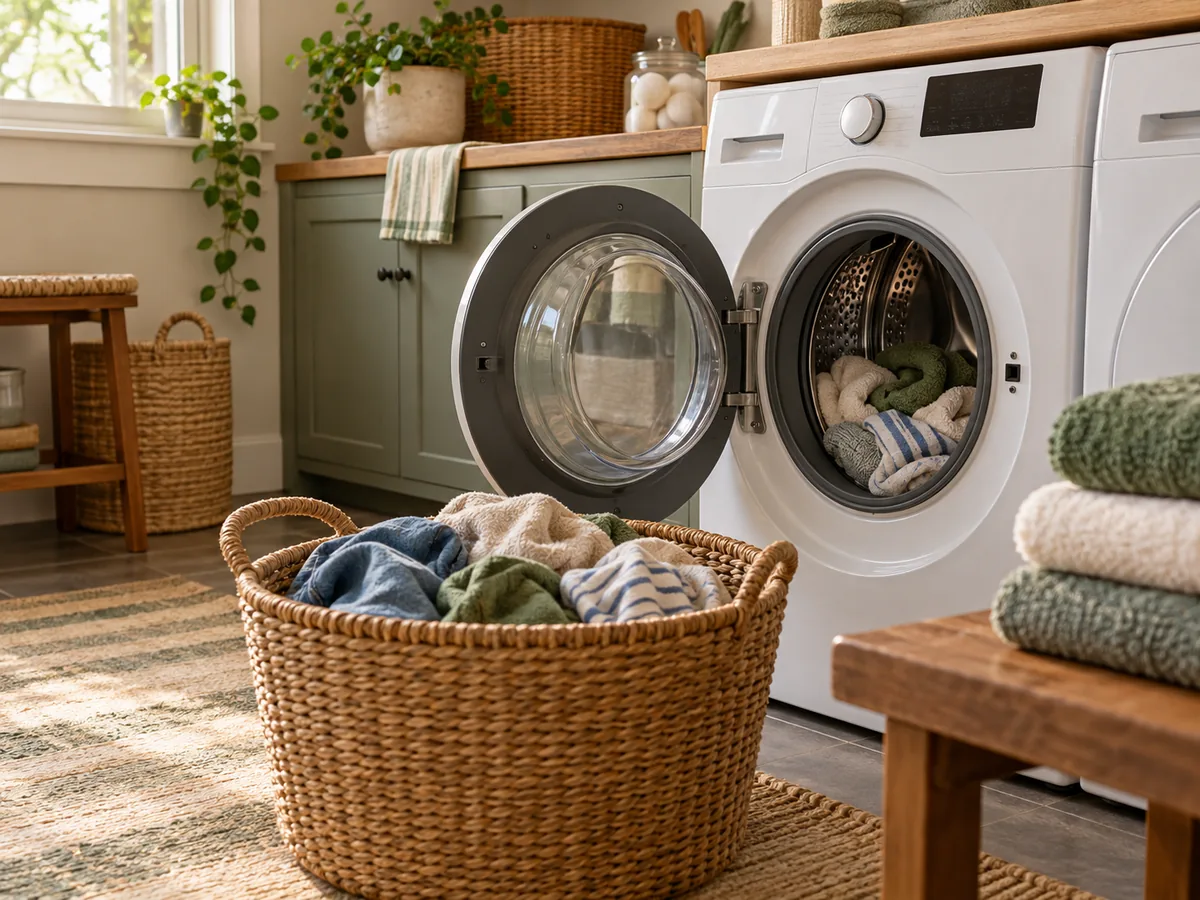
Distribute items rather than packing them into one side. Follow the manual’s capacity and bulky-item instructions; visible empty space is not proof that another blanket belongs inside.
- 4
Dose the product
Use detergent type and amount recommended for the machine, product concentration, load, soil, and water conditions. More is not automatically cleaner and can be harder to rinse.
- 5
Choose and document the cycle
Match cycle, temperature, spin, and options to the strictest item in the load. If a recurring load works well, note the recipe instead of re-solving it each week.
Make the result repeatable
Use what you noticed, not a perfect-looking setup
Begin with build compatible groups, because that establishes the condition you are actually working with. Then move through prepare the pieces, load for the machine type, dose the product. Those middle checks turn “sort by care needs, check pockets and labels, leave room for movement, and choose settings from the garment and machine instructions.” from a general idea into a sequence you can evaluate in your own home.
Give the change enough time to reveal a pattern, but do not keep adjusting several things at once. Write down the date, the room or device, the exact setting or arrangement, and what happened next. For equipment questions, add the model number and manual page. For room questions, add weather, time of day, and who was using the space. A small record is more dependable than memory after the next bill, load, or season arrives.
Finish with choose and document the cycle. If the result is useful, keep the smallest version that solves the problem and add it to the household notes. If it is inconvenient, inconclusive, or conflicts with an instruction, restore the starting condition. A reversible trial is still useful when it tells you which explanation or purchase does not fit. Keep the record with the matching bill, manual, room note, or shopping question so the next comparison begins with context instead of a fresh guess.
Good to know
Conditions, limits, and the point to stop
No universal water temperature or load size fits every textile and washer. Stop the machine if it is unbalanced, leaking, making a new harsh sound, or showing a fault the manual says requires service.
Takeaway
Keep these four points
- Care-compatible group made
- Pockets and hardware checked
- Manual capacity respected
- Cycle and dose matched to the load
Sources and review
Where the factual guidance comes from
This article’s organizing method, checklist, and household examples are original editorial material. Model-specific and safety-critical decisions should be checked against the relevant manufacturer instructions and local requirements.
Read our Editorial Standards or report a correction.