The short answer: Start with wash method and temperature, then check bleach, drying, and ironing. A crossed-out symbol is a limit, not a suggestion.
Before you start
Check the situation in front of you
Useful home guidance begins with the exact space, model, label, and routine you have. Make these checks before turning a general idea into a household habit.
- Check every piece in a new or mixed load.
- Look for both words and symbols; U.S. labels may use either in permitted combinations.
- If the label is missing or unreadable, use a cautious method or ask the manufacturer.
Try this at home
A practical route, one step at a time
Move through the sequence in order. Keep notes on what you observe, and change only one variable at a time when you want to understand the result.
- 1
Find the wash instruction
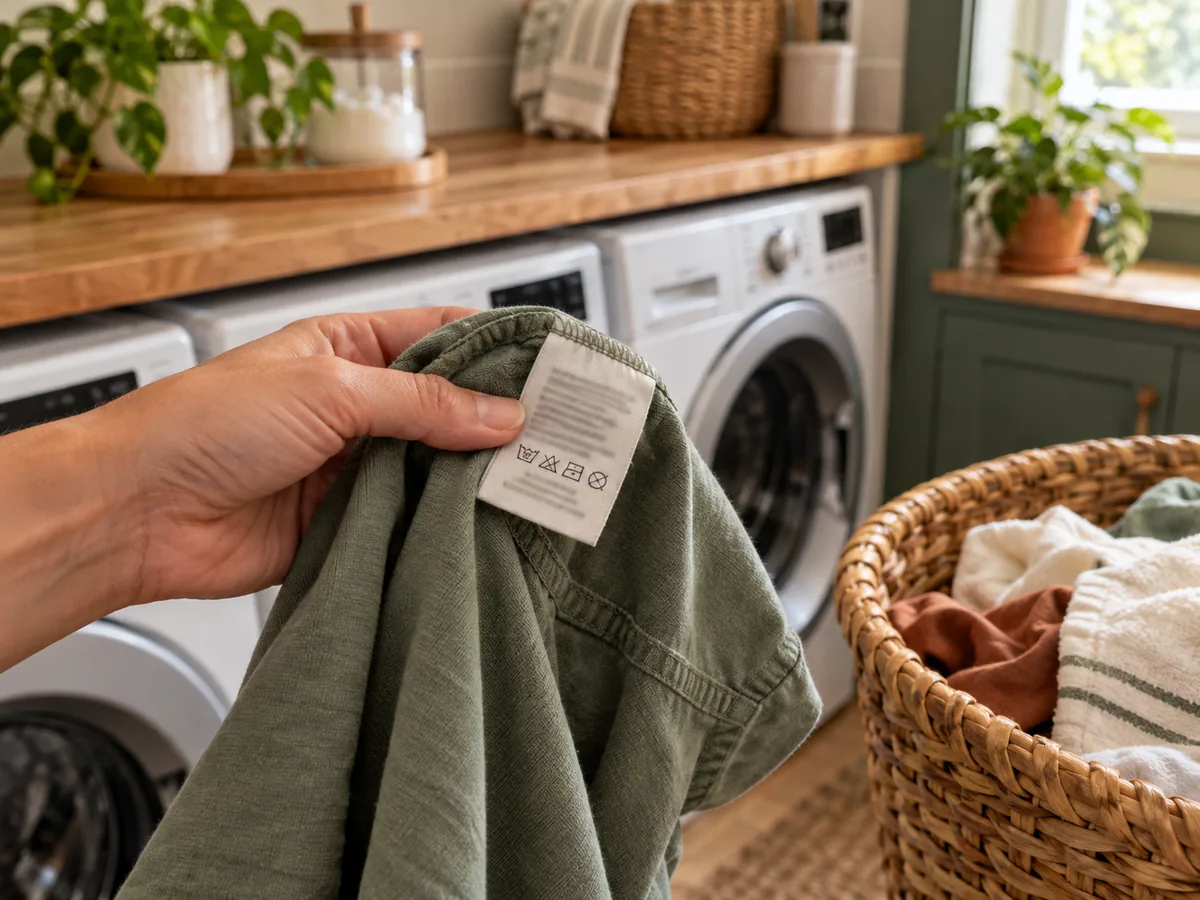
The first decision is whether the item can be machine washed, should be hand washed, or requires another care method. Do not infer washability only from how the fabric feels.
- 2
Read the temperature limit
Dots or written temperatures describe the maximum the label allows. Choose a machine setting that matches the instruction and remember that a machine’s named cycles can vary by model.
- 3
Check the bleach triangle
A plain triangle, striped triangle, or crossed triangle changes what is allowed. Read the product label too, keep products in original containers, and never combine cleaning chemicals.
- 4
Match the drying instruction
A square with a circle refers to tumble drying; lines inside the square can indicate other drying methods. Heat dots matter separately from the wash temperature.
- 5
Finish with ironing and special warnings
Iron symbols describe allowable heat, while a cross means do not iron. Words such as wash separately or remove promptly can be just as important as the pictograms.
Make the result repeatable
Use what you noticed, not a perfect-looking setup
Begin with find the wash instruction, because that establishes the condition you are actually working with. Then move through read the temperature limit, check the bleach triangle, match the drying instruction. Those middle checks turn “read the label as a sequence of care decisions, then let the garment maker’s instructions outrank a favorite routine.” from a general idea into a sequence you can evaluate in your own home.
Give the change enough time to reveal a pattern, but do not keep adjusting several things at once. Write down the date, the room or device, the exact setting or arrangement, and what happened next. For equipment questions, add the model number and manual page. For room questions, add weather, time of day, and who was using the space. A small record is more dependable than memory after the next bill, load, or season arrives.
Finish with finish with ironing and special warnings. If the result is useful, keep the smallest version that solves the problem and add it to the household notes. If it is inconvenient, inconclusive, or conflicts with an instruction, restore the starting condition. A reversible trial is still useful when it tells you which explanation or purchase does not fit. Keep the record with the matching bill, manual, room note, or shopping question so the next comparison begins with context instead of a fresh guess.
Good to know
Conditions, limits, and the point to stop
This guide helps decode common U.S. care information; it does not replace the garment label, a manufacturer’s clarification, or professional advice for valuable, damaged, or unusual textiles.
Takeaway
Keep these four points
- Wash method identified
- Maximum temperature checked
- Bleach and drying limits confirmed
- Special warnings kept with the garment
Sources and review
Where the factual guidance comes from
- Federal Trade Commission — Care Labeling RuleChecked October 14, 2026
Read our Editorial Standards or report a correction.