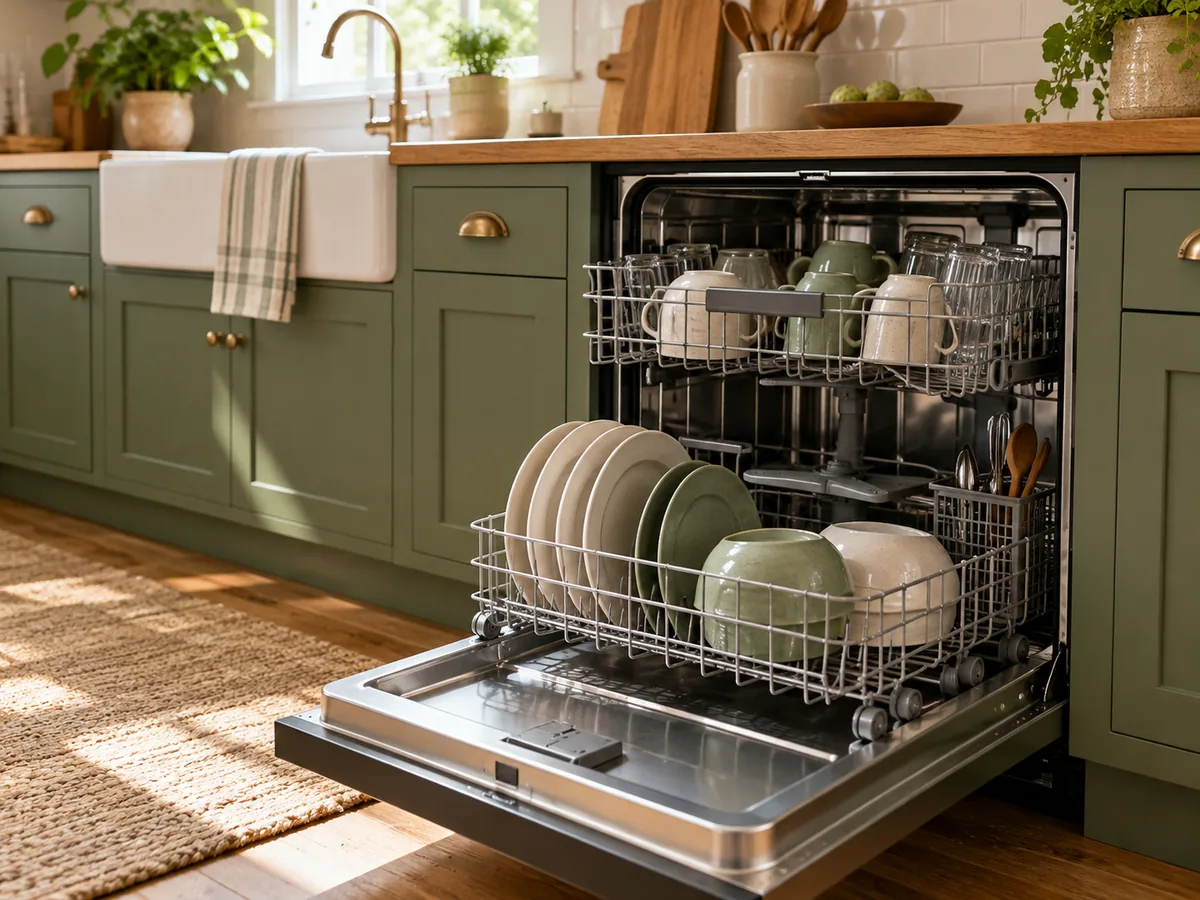
The short answer: A good load lets water reach soiled surfaces and allows every moving or opening part to work. The rack diagram in the manual is more reliable than a universal internet layout.
Before you start
Check the situation in front of you
Useful home guidance begins with the exact space, model, label, and routine you have. Make these checks before turning a general idea into a household habit.
- Find the model manual and rack diagram.
- Remove materials the maker says are not dishwasher-safe.
- Check that the machine is cool and stopped before moving anything near the spray arms.
Try this at home
A practical route, one step at a time
Move through the sequence in order. Keep notes on what you observe, and change only one variable at a time when you want to understand the result.
- 1
Face soil toward the wash
Angle bowls and curved surfaces so water can reach and drain. Nesting spoons, stacked bowls, and overlapping plates can create protected pockets.
- 2
Protect the spray path
Rotate accessible spray arms gently before starting, if the manual permits, and confirm tall pieces do not block them. Keep lightweight items secure so they cannot fall below the rack.
- 3
Leave dispensers clear
A pan handle or tall plate can prevent the detergent door from opening. Check its swing and keep the area in front of it free according to the manual.
- 4
Use the adjustable parts
Rack height, folding tines, stem holders, and third racks vary by model. Learn one feature at a time instead of forcing an awkward item into a fixed layout.
- 5
Run a final movement check
Slide both racks fully, confirm nothing catches, and verify the door closes without pressure. Move the item rather than bending a rack or pushing past resistance.
Make the result repeatable
Use what you noticed, not a perfect-looking setup
Begin with face soil toward the wash, because that establishes the condition you are actually working with. Then move through protect the spray path, leave dispensers clear, use the adjustable parts. Those middle checks turn “keep spray paths, detergent access, and rack movement clear while following the loading pattern for your model.” from a general idea into a sequence you can evaluate in your own home.
Give the change enough time to reveal a pattern, but do not keep adjusting several things at once. Write down the date, the room or device, the exact setting or arrangement, and what happened next. For equipment questions, add the model number and manual page. For room questions, add weather, time of day, and who was using the space. A small record is more dependable than memory after the next bill, load, or season arrives.
Finish with run a final movement check. If the result is useful, keep the smallest version that solves the problem and add it to the household notes. If it is inconvenient, inconclusive, or conflicts with an instruction, restore the starting condition. A reversible trial is still useful when it tells you which explanation or purchase does not fit. Keep the record with the matching bill, manual, room note, or shopping question so the next comparison begins with context instead of a fresh guess.
Good to know
Conditions, limits, and the point to stop
Place sharp items as the manual directs and keep children away during loading. Cracked glass, delicate decoration, cast iron, wood, and specialty finishes may need hand care.
Takeaway
Keep these four points
- Soiled faces exposed
- Spray arms unobstructed
- Dispenser path clear
- Racks move and close freely
Sources and review
Where the factual guidance comes from
This article’s organizing method, checklist, and household examples are original editorial material. Model-specific and safety-critical decisions should be checked against the relevant manufacturer instructions and local requirements.
Read our Editorial Standards or report a correction.