The short answer: Cycle names are clues, not standards. Sensor cycles respond to the load, timed cycles run for the selected time, and heat options must still match the fabric label.
Before you start
Check the situation in front of you
Useful home guidance begins with the exact space, model, label, and routine you have. Make these checks before turning a general idea into a household habit.
- Clean the lint filter as the manual instructs.
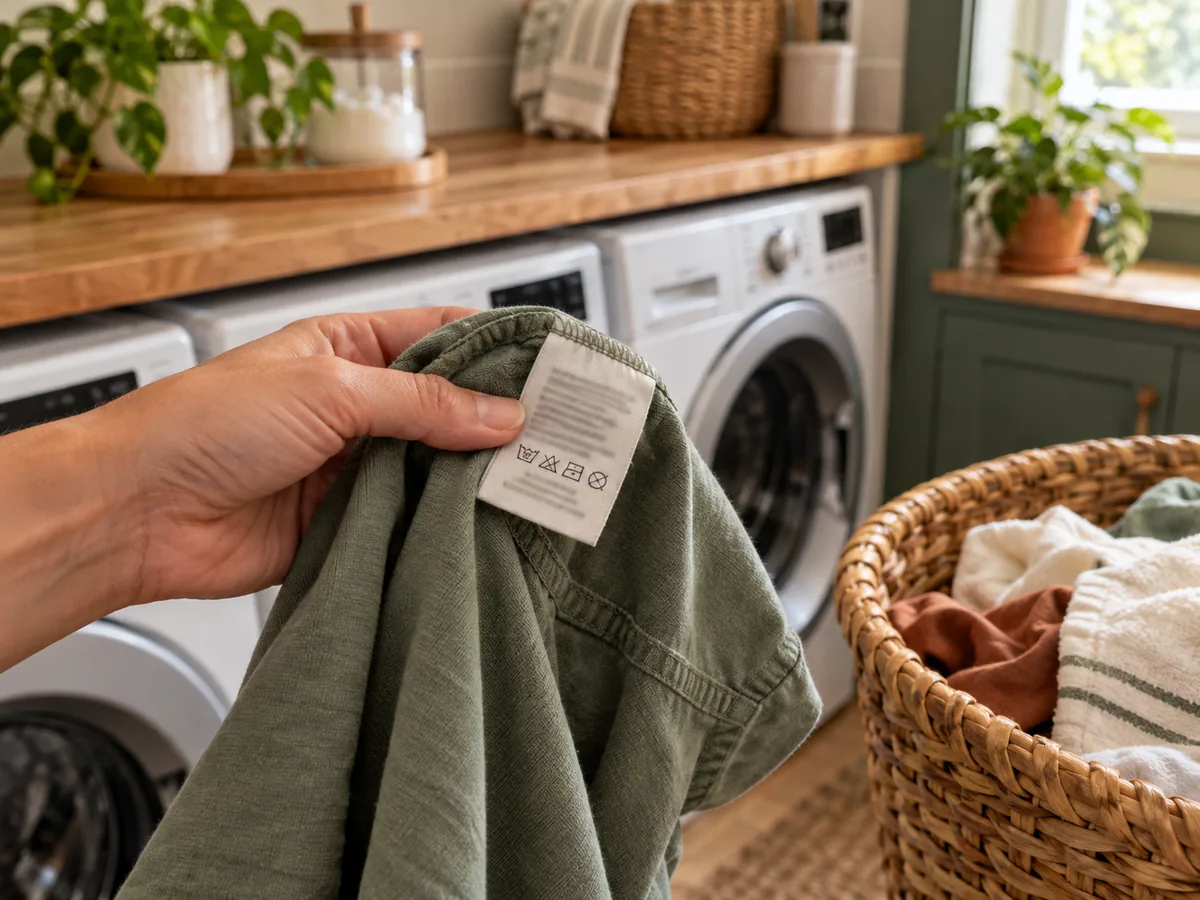
- Read garment labels before transferring the load.
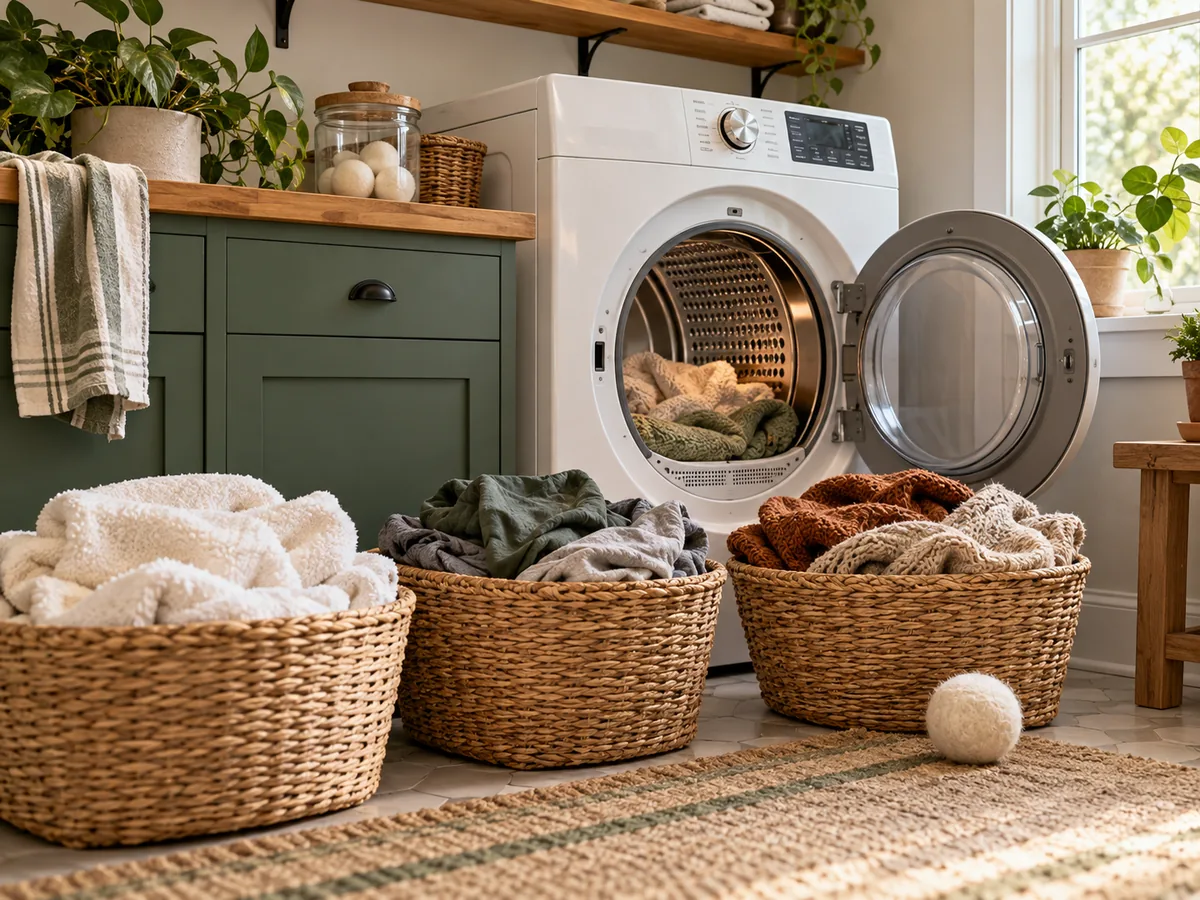
- Separate pieces with very different weight or drying needs.
Try this at home
A practical route, one step at a time
Move through the sequence in order. Keep notes on what you observe, and change only one variable at a time when you want to understand the result.
- 1
Understand sensor dry
A sensor cycle estimates when the load reaches a target dryness. Mixed weights, very small loads, or items that stop touching the sensing area may affect the result.
- 2
Use timed dry deliberately
Timed operation can help with a specific short finish or a load the sensor does not read well, but the machine will not necessarily stop because the fabric is already dry.
- 3
Treat temperature as a separate choice
Normal, low, extra low, air, and other labels vary. Select the allowed heat from the textile label and confirm how the dryer pairs temperature with each cycle.
- 4
Give the load room to tumble
Follow capacity guidance and separate a dense item that wraps around smaller pieces. Movement helps expose fabric surfaces; packing can leave centers damp.
- 5
End with the vent path
Clean only user-accessible parts according to the manual. A longer dry time, overheating, burning smell, damaged vent, or repeated error needs prompt attention from an appropriate professional.
Use the guide
A practical result you can keep
| Setting family | Useful question | Common limitation |
|---|---|---|
| Sensor | Can the load contact the sensor? | Small or mixed loads may read unevenly |
| Timed | How long does this task require? | Does not detect dryness |
| Low heat | Does the care label allow it? | Cycle names vary |
| Air/no heat | Is tumbling without heat appropriate? | Not a substitute for washing |
Make the result repeatable
Use what you noticed, not a perfect-looking setup
Begin with understand sensor dry, because that establishes the condition you are actually working with. Then move through use timed dry deliberately, treat temperature as a separate choice, give the load room to tumble. Those middle checks turn “use fabric labels and the dryer manual to distinguish timed, sensor, low-heat, air, and specialty cycles on your specific machine.” from a general idea into a sequence you can evaluate in your own home.
Give the change enough time to reveal a pattern, but do not keep adjusting several things at once. Write down the date, the room or device, the exact setting or arrangement, and what happened next. For equipment questions, add the model number and manual page. For room questions, add weather, time of day, and who was using the space. A small record is more dependable than memory after the next bill, load, or season arrives.
Finish with end with the vent path. If the result is useful, keep the smallest version that solves the problem and add it to the household notes. If it is inconvenient, inconclusive, or conflicts with an instruction, restore the starting condition. A reversible trial is still useful when it tells you which explanation or purchase does not fit. Keep the record with the matching bill, manual, room note, or shopping question so the next comparison begins with context instead of a fresh guess.
Good to know
Conditions, limits, and the point to stop
Never dry items contaminated with flammable substances, and follow label restrictions for foam, rubber-backed, or heat-sensitive materials. Do not operate a dryer with a damaged cord or blocked exhaust.
Takeaway
Keep these four points
- Care labels checked
- Sensor and timed modes distinguished
- Heat chosen separately
- Lint and vent guidance followed
Sources and review
Where the factual guidance comes from
This article’s organizing method, checklist, and household examples are original editorial material. Model-specific and safety-critical decisions should be checked against the relevant manufacturer instructions and local requirements.
Read our Editorial Standards or report a correction.