The short answer: A useful drop zone is a short sequence, not a large piece of furniture: contain what comes off first, keep outgoing items visible, and protect the walking path.
Before you start
Check the situation in front of you
Useful home guidance begins with the exact space, model, label, and routine you have. Make these checks before turning a general idea into a household habit.
- Watch what lands near the door for three ordinary days.
- Measure the clear width of the path with the door fully open.
- Separate daily items from things that only pass through once a week.
Try this at home
A practical route, one step at a time
Move through the sequence in order. Keep notes on what you observe, and change only one variable at a time when you want to understand the result.
- 1
Name the traffic
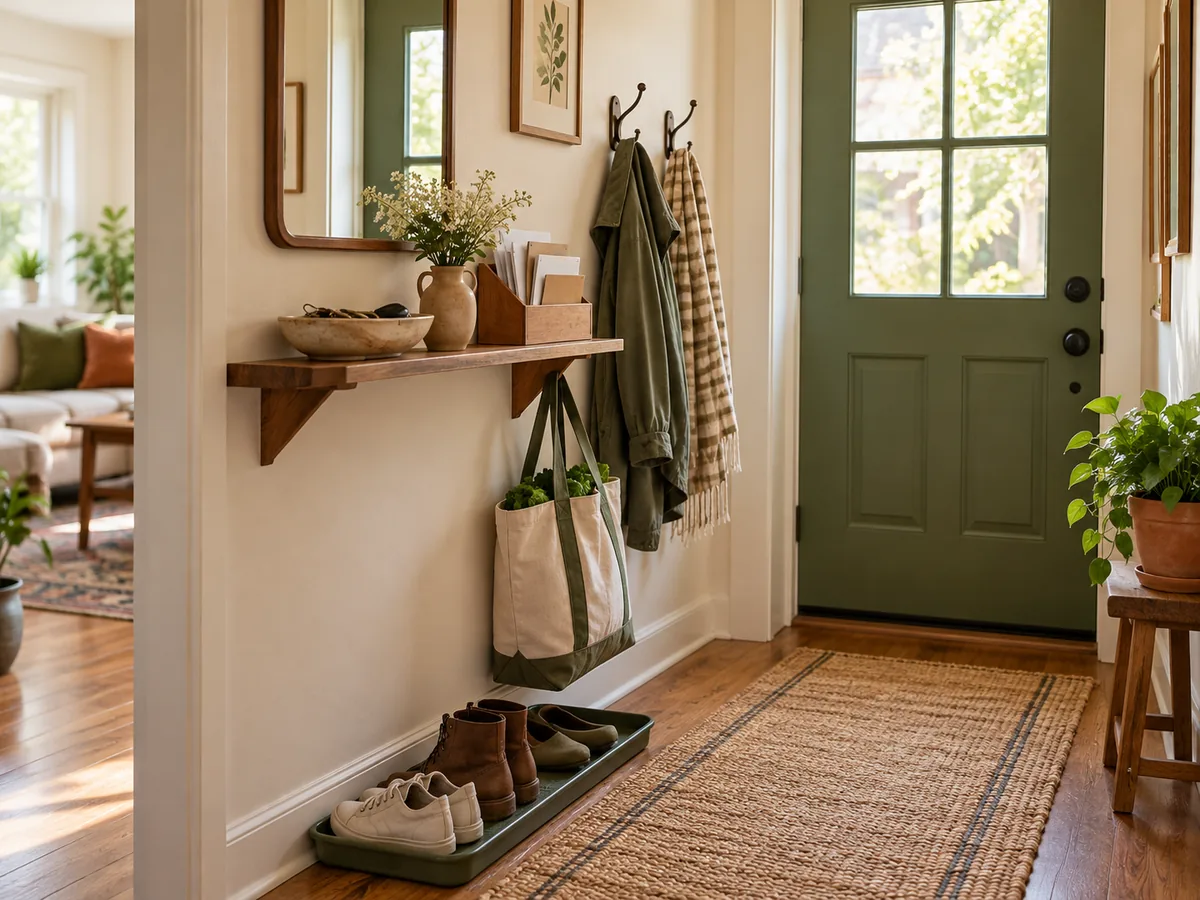
List the handful of items that truly arrive every day: keys, one bag, shoes, mail, and perhaps a dog leash. A system built for real traffic stays smaller than a system built for every possible object.
- 2
Anchor the smallest items
Use one shallow bowl or divided tray for keys and access cards. Put it at the point where your hand naturally pauses, not on a distant console that requires a second trip.
- 3
Give paper a direction
Create two upright slots: action and recycle. Open mail somewhere else if the entry is narrow, but decide its next stop before it spreads across a flat surface.
- 4
Keep the floor legible
A boot tray or two-pair shoe limit makes the walking line easy to see. Move seasonal shoes elsewhere rather than expanding the entry system until it becomes storage.
- 5
Add an exit cue
Reserve one hook or basket for returns, library books, or the item that must leave tomorrow. Empty it on a set day so it does not become a second junk drawer.
Make the result repeatable
Use what you noticed, not a perfect-looking setup
Begin with name the traffic, because that establishes the condition you are actually working with. Then move through anchor the smallest items, give paper a direction, keep the floor legible. Those middle checks turn “give keys, mail, shoes, and outgoing items one visible landing place without crowding the entrance.” from a general idea into a sequence you can evaluate in your own home.
Give the change enough time to reveal a pattern, but do not keep adjusting several things at once. Write down the date, the room or device, the exact setting or arrangement, and what happened next. For equipment questions, add the model number and manual page. For room questions, add weather, time of day, and who was using the space. A small record is more dependable than memory after the next bill, load, or season arrives.
Finish with add an exit cue. If the result is useful, keep the smallest version that solves the problem and add it to the household notes. If it is inconvenient, inconclusive, or conflicts with an instruction, restore the starting condition. A reversible trial is still useful when it tells you which explanation or purchase does not fit. Keep the record with the matching bill, manual, room note, or shopping question so the next comparison begins with context instead of a fresh guess.
Good to know
Conditions, limits, and the point to stop
Do not narrow an exit route, cover a vent, block a door swing, or mount heavy hooks without the correct fastener. Renters can use a slim freestanding rail, over-door organizer where permitted, or a tray inside an existing cabinet.
Takeaway
Keep these four points
- Daily items have one assigned landing place
- The door and walking path remain clear
- Paper has an immediate next step
- The system can be reset in under two minutes
Sources and review
Where the factual guidance comes from
This article’s organizing method, checklist, and household examples are original editorial material. Model-specific and safety-critical decisions should be checked against the relevant manufacturer instructions and local requirements.
Read our Editorial Standards or report a correction.