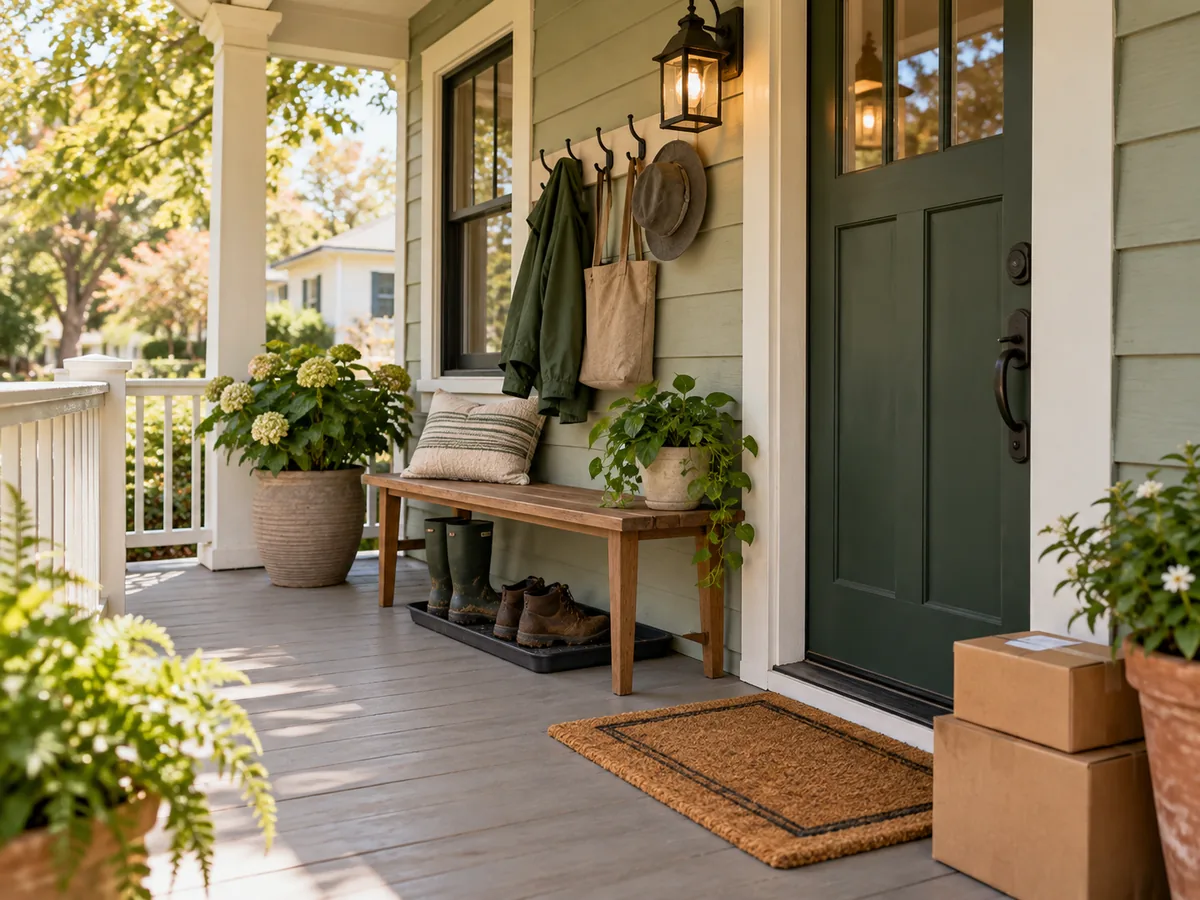
The short answer: Treat the porch as a transition zone. Protect the path first, then add one weather-ready place for shoes, one for deliveries, and one comfortable point of light.
Before you start
Check the situation in front of you
Useful home guidance begins with the exact space, model, label, and routine you have. Make these checks before turning a general idea into a household habit.
- Open the door through its full swing and mark the walking line.
- Observe where rain, snow, and direct sun actually reach.
- Check lease, building, and fire-safety rules before mounting or storing anything.
Try this at home
A practical route, one step at a time
Move through the sequence in order. Keep notes on what you observe, and change only one variable at a time when you want to understand the result.
- 1
Draw the clear route
Keep the approach, threshold, handrail, and door controls free. Measure usable space only after that route is protected; the leftover shape determines what can fit.
- 2
Choose a shallow shoe solution
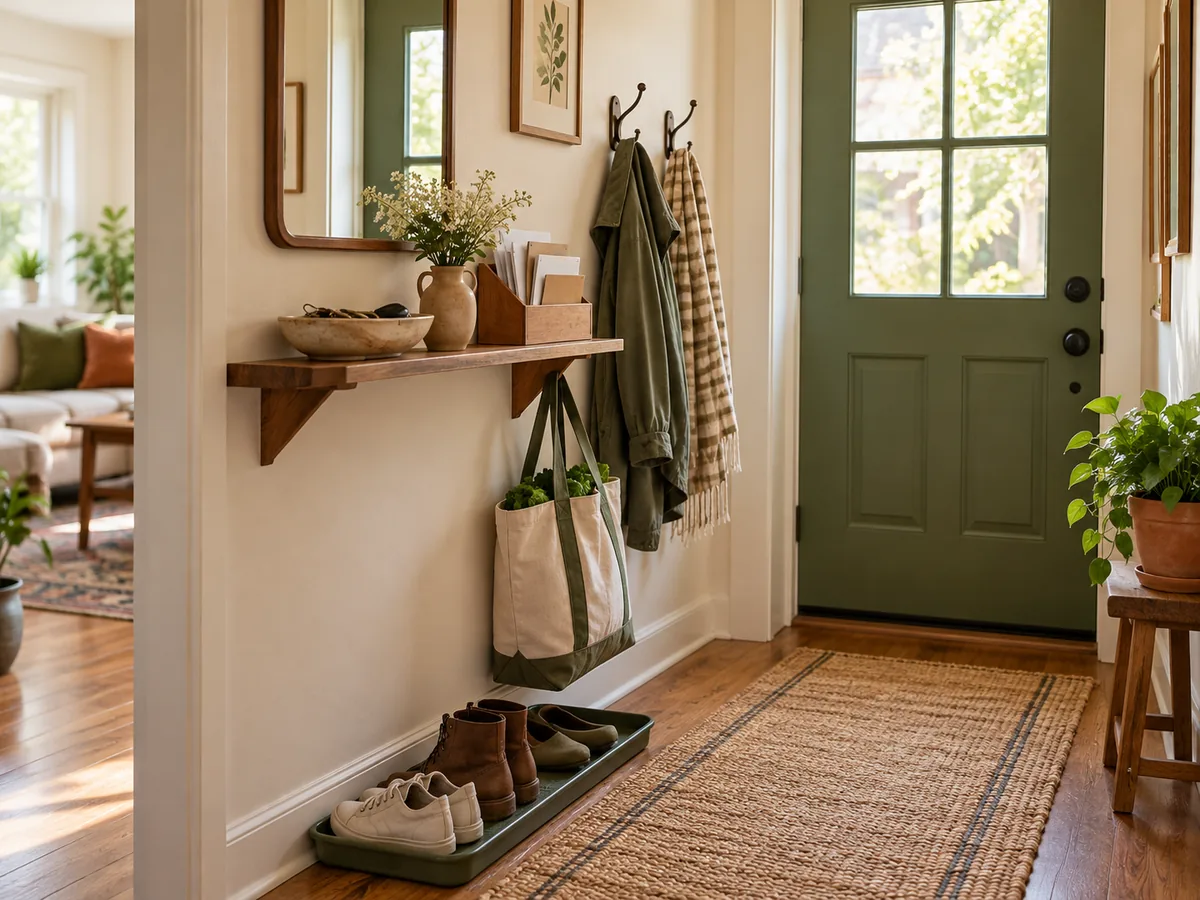
Use a draining tray or narrow mat for the pairs currently in rotation. A closed cabinet may trap moisture, while an oversized rack quickly steals the path.
- 3
Create a dry delivery point
A small shelf or weather-resistant box can keep parcels off a damp floor. It should not advertise valuables, hide the address, or interfere with the door.
- 4
Light the task
Aim for enough light to see the lock, step edge, and package area. Select bulbs and fixtures that match the fixture rating and outdoor location; fixed wiring belongs with a qualified professional.
- 5
Add seating only if it earns the space
A compact stool or wall-adjacent bench can help with shoes, but it is optional. Preserve turning room and the everyday route before adding a decorative seat.
Use the guide
A practical result you can keep
Narrow stoop
Boot tray inside, wall hook beside the door, no seat
Covered corner
Slim bench parallel to wall, parcel shelf at the dry end
Small square porch
Clear center route, one chair in the sheltered corner
Make the result repeatable
Use what you noticed, not a perfect-looking setup
Begin with draw the clear route, because that establishes the condition you are actually working with. Then move through choose a shallow shoe solution, create a dry delivery point, light the task. Those middle checks turn “organize weather, shoes, light, packages, and a place to pause while preserving a clear route to the door.” from a general idea into a sequence you can evaluate in your own home.
Give the change enough time to reveal a pattern, but do not keep adjusting several things at once. Write down the date, the room or device, the exact setting or arrangement, and what happened next. For equipment questions, add the model number and manual page. For room questions, add weather, time of day, and who was using the space. A small record is more dependable than memory after the next bill, load, or season arrives.
Finish with add seating only if it earns the space. If the result is useful, keep the smallest version that solves the problem and add it to the household notes. If it is inconvenient, inconclusive, or conflicts with an instruction, restore the starting condition. A reversible trial is still useful when it tells you which explanation or purchase does not fit. Keep the record with the matching bill, manual, room note, or shopping question so the next comparison begins with context instead of a fresh guess.
Good to know
Conditions, limits, and the point to stop
Local codes, accessibility needs, shared-building rules, and climate can change what is appropriate. Do not cover address numbers, safety equipment, outlets, drains, or ventilation openings.
Takeaway
Keep these four points
- Door swing remains unobstructed
- Wet footwear has a draining place
- Deliveries stay off the walking path
- Lighting supports the actual tasks
Sources and review
Where the factual guidance comes from
This article’s organizing method, checklist, and household examples are original editorial material. Model-specific and safety-critical decisions should be checked against the relevant manufacturer instructions and local requirements.
Read our Editorial Standards or report a correction.