The short answer: A fall walk-through is an observation route. Start outside at ground level, move through the entry, then check ordinary comfort systems and supplies you can access safely.
Before you start
Check the situation in front of you
Useful home guidance begins with the exact space, model, label, and routine you have. Make these checks before turning a general idea into a household habit.
- Choose daylight and dry footing.
- Stay off roofs and ladders.
- Adapt the list to local climate; not every U.S. region prepares for freezing weather.
Try this at home
A practical route, one step at a time
Move through the sequence in order. Keep notes on what you observe, and change only one variable at a time when you want to understand the result.
- 1
Begin at the approach
Look for loose mats, pooled water, damaged handrails, hidden step edges, and lighting gaps. Record repairs; do not improvise structural or electrical work during the walk-through.
- 2
Open and close the entry
Observe the threshold, accessible weatherstripping, door sweep, lock, and full swing. A visible gap is a clue to investigate, not permission to block ventilation or force a misaligned door.
- 3
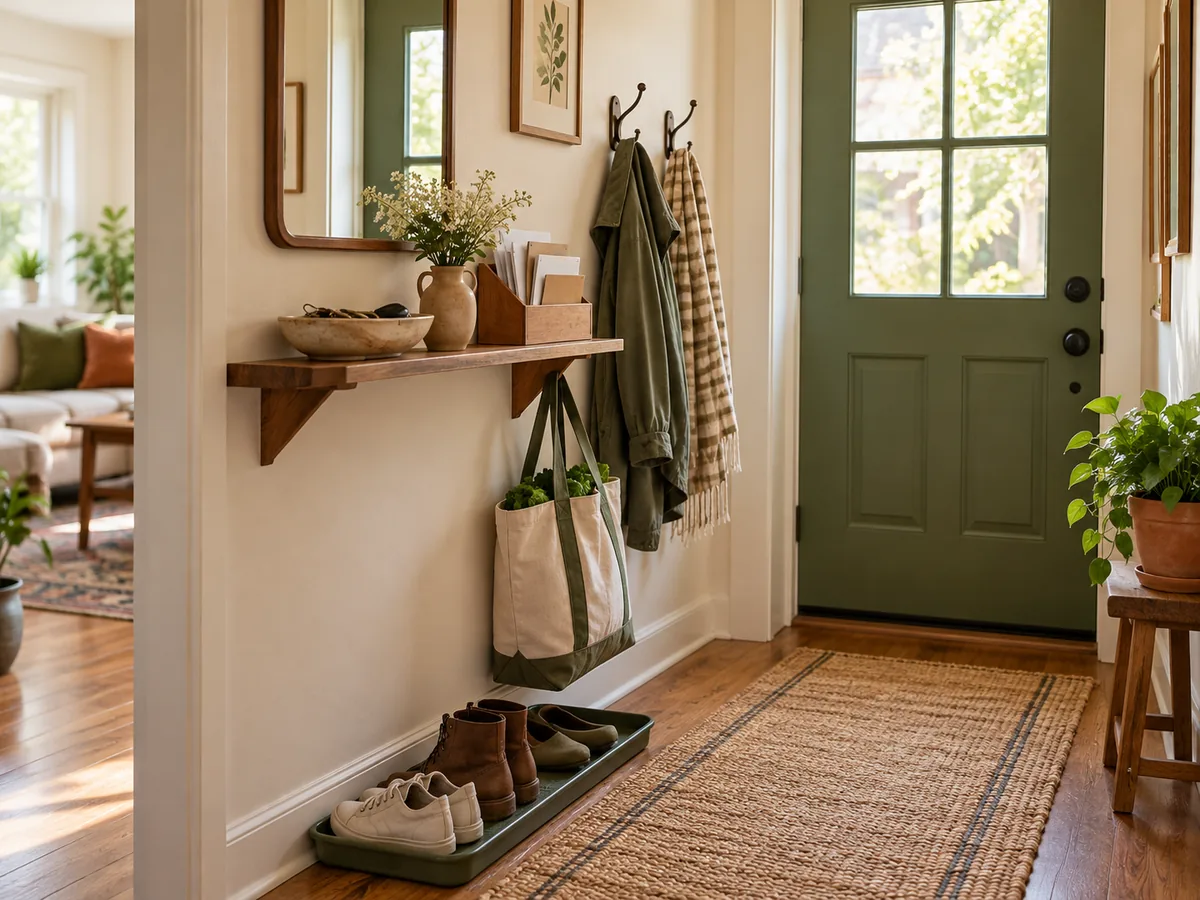
Check the landing zone
Make room for wet shoes, coats, and deliveries while preserving the exit path. Wash or replace the mat if it no longer dries between uses.
- 4
Move to the comfort system
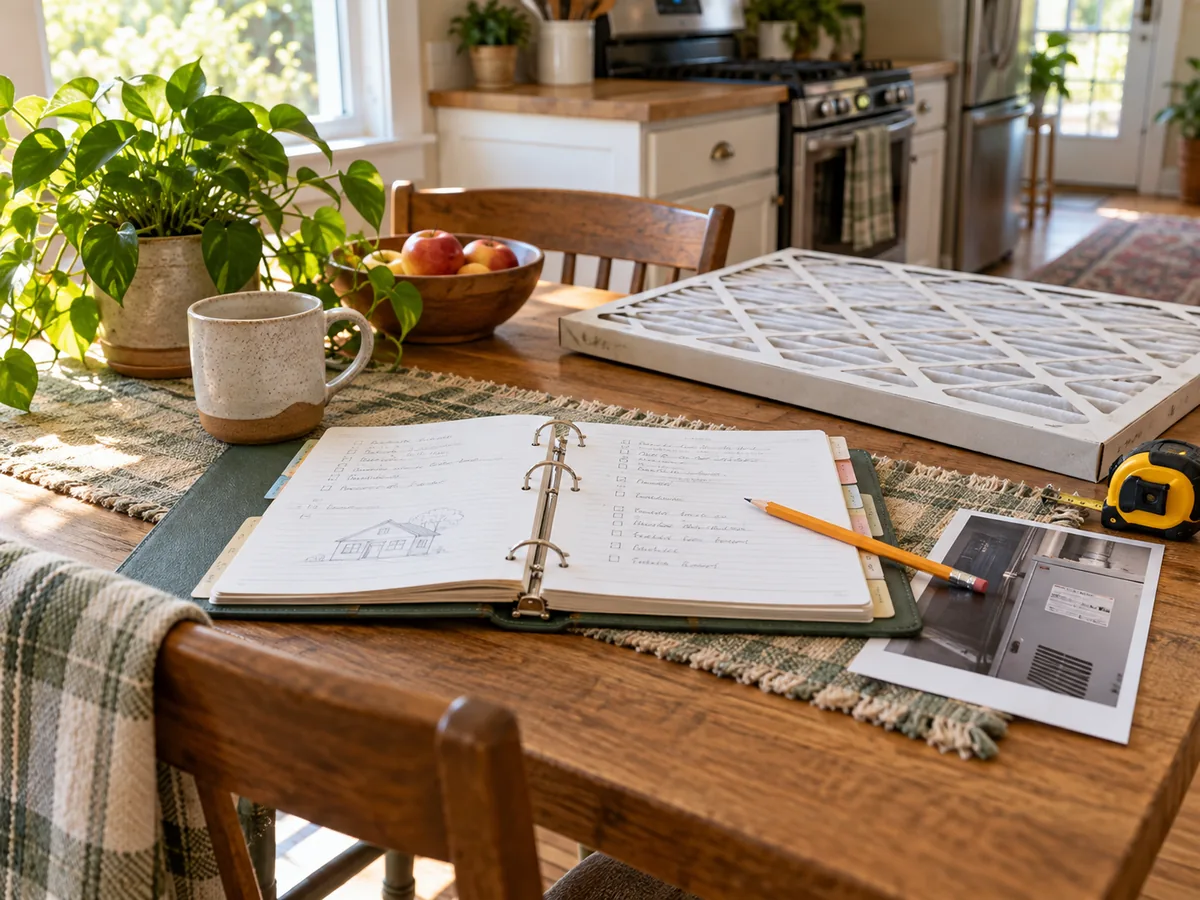
Review thermostat mode, accessible filter record, supply openings, and the equipment manual. Schedule professional service when the system or local conditions call for it.
- 5
Set out regional supplies
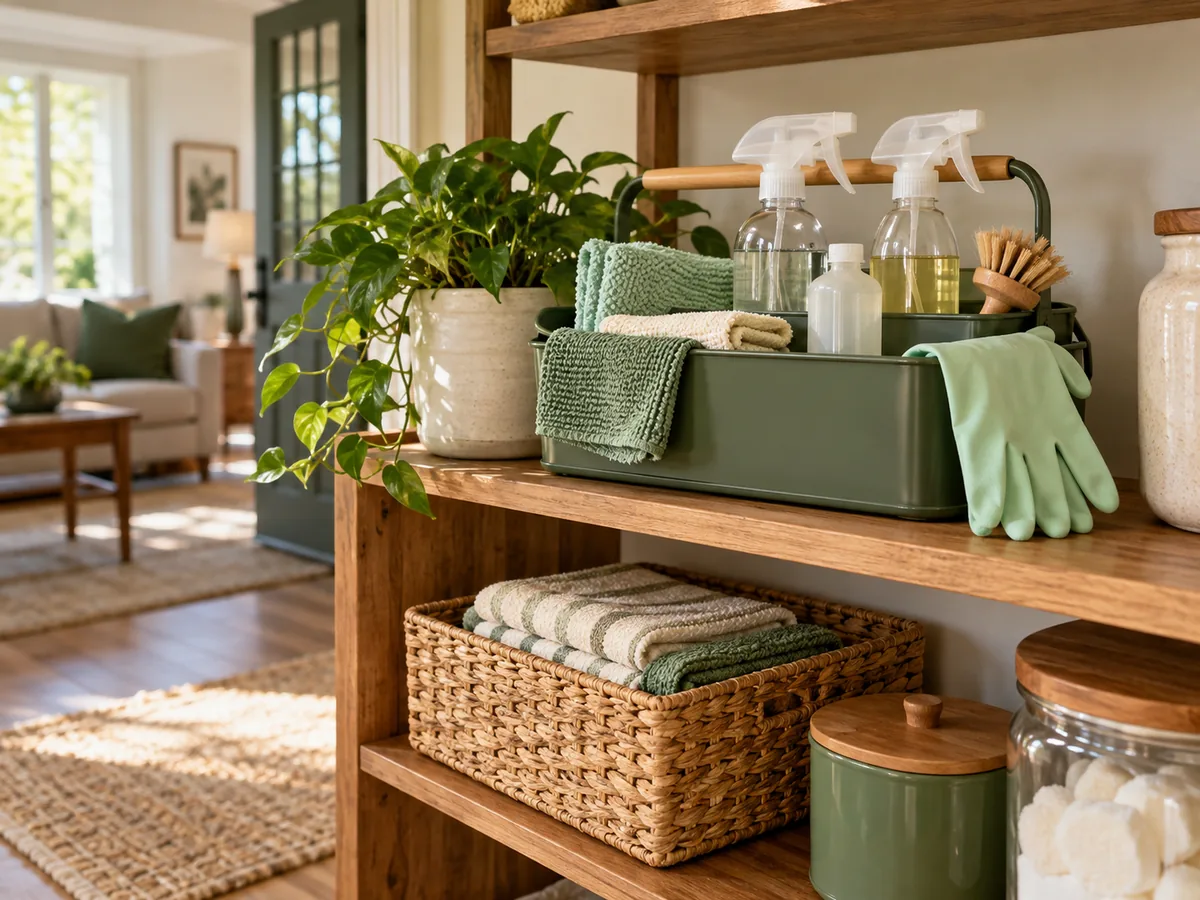
Bring forward the items your climate actually requires: rain gear, draft-control materials approved for the location, flashlights, or outage supplies. Check condition and dates before relying on them.
Make the result repeatable
Use what you noticed, not a perfect-looking setup
Begin with begin at the approach, because that establishes the condition you are actually working with. Then move through open and close the entry, check the landing zone, move to the comfort system. Those middle checks turn “use a ground-level checklist to notice lighting, drainage, accessible seals, filters, and seasonal supplies without turning the review into risky repair work.” from a general idea into a sequence you can evaluate in your own home.
Give the change enough time to reveal a pattern, but do not keep adjusting several things at once. Write down the date, the room or device, the exact setting or arrangement, and what happened next. For equipment questions, add the model number and manual page. For room questions, add weather, time of day, and who was using the space. A small record is more dependable than memory after the next bill, load, or season arrives.
Finish with set out regional supplies. If the result is useful, keep the smallest version that solves the problem and add it to the household notes. If it is inconvenient, inconclusive, or conflicts with an instruction, restore the starting condition. A reversible trial is still useful when it tells you which explanation or purchase does not fit. Keep the record with the matching bill, manual, room note, or shopping question so the next comparison begins with context instead of a fresh guess.
Good to know
Conditions, limits, and the point to stop
Roof, chimney, combustion, electrical, structural, pest, and significant moisture concerns require appropriate expertise. Do not seal intentional ventilation openings or use a ladder alone as part of this checklist.
Takeaway
Keep these four points
- Approach and step edges visible
- Door seals observed
- Entry route cleared
- Regional supplies checked
Sources and review
Where the factual guidance comes from
This article’s organizing method, checklist, and household examples are original editorial material. Model-specific and safety-critical decisions should be checked against the relevant manufacturer instructions and local requirements.
Read our Editorial Standards or report a correction.