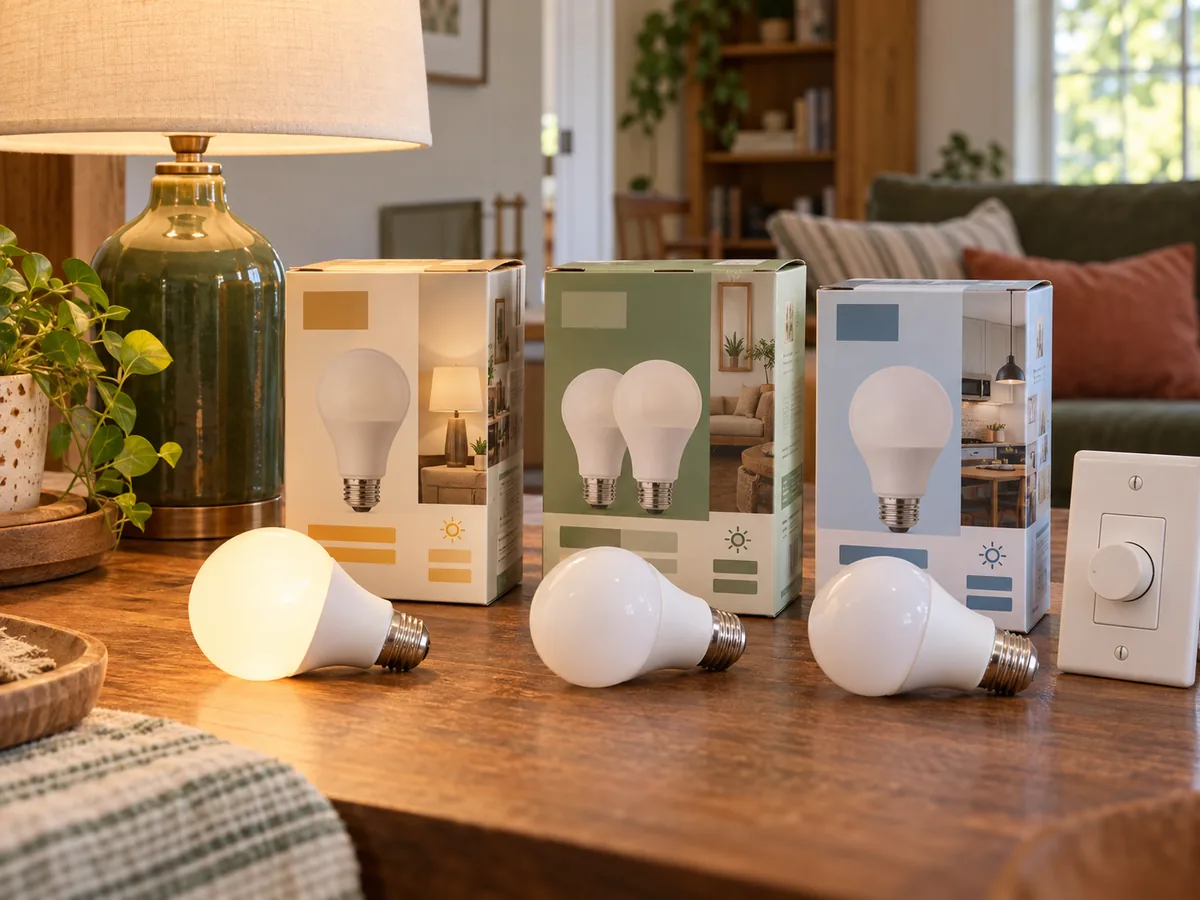
The short answer: Buy for the fixture and the task. Lumens describe light output, watts describe power, and Kelvin describes the light’s color appearance; none replaces the base and fixture requirements.
Before you start
Check the situation in front of you
Useful home guidance begins with the exact space, model, label, and routine you have. Make these checks before turning a general idea into a household habit.
- Turn the light off and let the old bulb cool.
- Read the fixture label and manual.
- Record base, shape, maximum rating, enclosure, wet/damp location, and dimmer information.
Try this at home
A practical route, one step at a time
Move through the sequence in order. Keep notes on what you observe, and change only one variable at a time when you want to understand the result.
- 1
Start with lumens
Use desired brightness and the old bulb’s useful output as a reference. Watt-equivalent language can help with familiarity, but lumens are the direct brightness comparison.
- 2
Choose color appearance
Lower Kelvin values generally look warmer and higher values cooler. Match nearby lamps when consistency matters, and remember that color rendering is another separate quality.
- 3
Match the physical fit
Confirm base, bulb shape, diameter, length, and clearance. A technically compatible base can still place the light poorly or fail to fit under a shade.
- 4
Respect the fixture environment
Check whether the lamp is approved for fully enclosed fixtures, recessed locations, damp or wet areas, and the fixture’s orientation. Heat and moisture ratings are product-specific.
- 5
Verify dimming as a system
A bulb marked dimmable may still require a compatible dimmer and load range. Review both specifications and watch for flicker, noise, poor range, or failure to turn fully off.
Make the result repeatable
Use what you noticed, not a perfect-looking setup
Begin with start with lumens, because that establishes the condition you are actually working with. Then move through choose color appearance, match the physical fit, respect the fixture environment. Those middle checks turn “match brightness, color appearance, base, shape, fixture enclosure, location, and dimmer compatibility.” from a general idea into a sequence you can evaluate in your own home.
Give the change enough time to reveal a pattern, but do not keep adjusting several things at once. Write down the date, the room or device, the exact setting or arrangement, and what happened next. For equipment questions, add the model number and manual page. For room questions, add weather, time of day, and who was using the space. A small record is more dependable than memory after the next bill, load, or season arrives.
Finish with verify dimming as a system. If the result is useful, keep the smallest version that solves the problem and add it to the household notes. If it is inconvenient, inconclusive, or conflicts with an instruction, restore the starting condition. A reversible trial is still useful when it tells you which explanation or purchase does not fit. Keep the record with the matching bill, manual, room note, or shopping question so the next comparison begins with context instead of a fresh guess.
Good to know
Conditions, limits, and the point to stop
Do not exceed fixture ratings, use damaged sockets, or work on fixed wiring. If a bulb flickers, smells, overheats, or leaves discoloration, switch off the fixture and seek appropriate help.
Takeaway
Keep these four points
- Lumens selected
- Kelvin range chosen
- Base and dimensions matched
- Enclosure and dimmer compatibility confirmed
Sources and review
Where the factual guidance comes from
- U.S. Department of Energy — Purchasing Energy-Efficient Light BulbsChecked October 14, 2026
Read our Editorial Standards or report a correction.